Create a WooCommerce product feed
Installing a channel
Before you can start building a product feed you will need to activate the channel template you would like to create a product feed for. In the Google feed manager plugin this is already done and you can skip this step.
To activate and use one or more channels click the Channel manager link in the feed manager menu. You will get the Channel manager page where you can manage your channel templates, activate remove and update them.
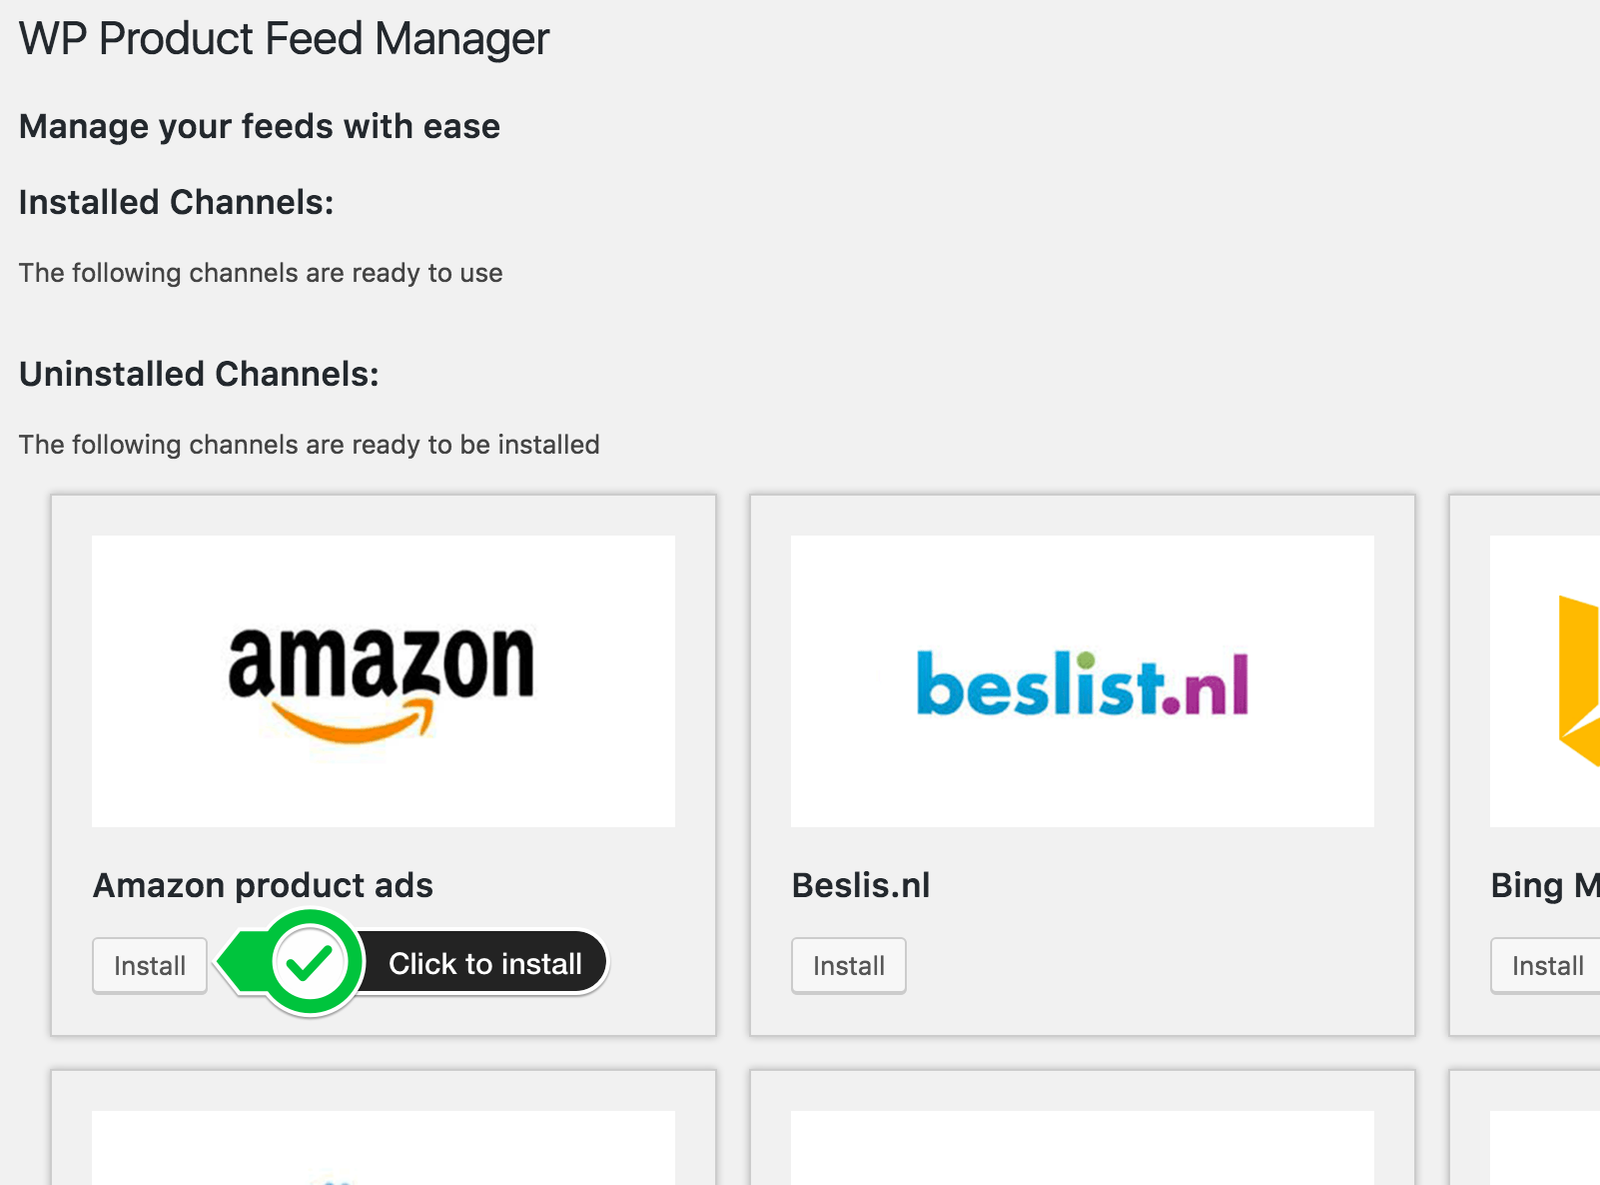
After installation you will find the installed channel template under the “Installed Channels” section.
Create and setup a new feed
To create your first feed click the “Feed manager” link in the Feed manager menu. You will see the Feed list where you can Managing your feeds. When you start this list will be empty. Click the “Add new feed” button.
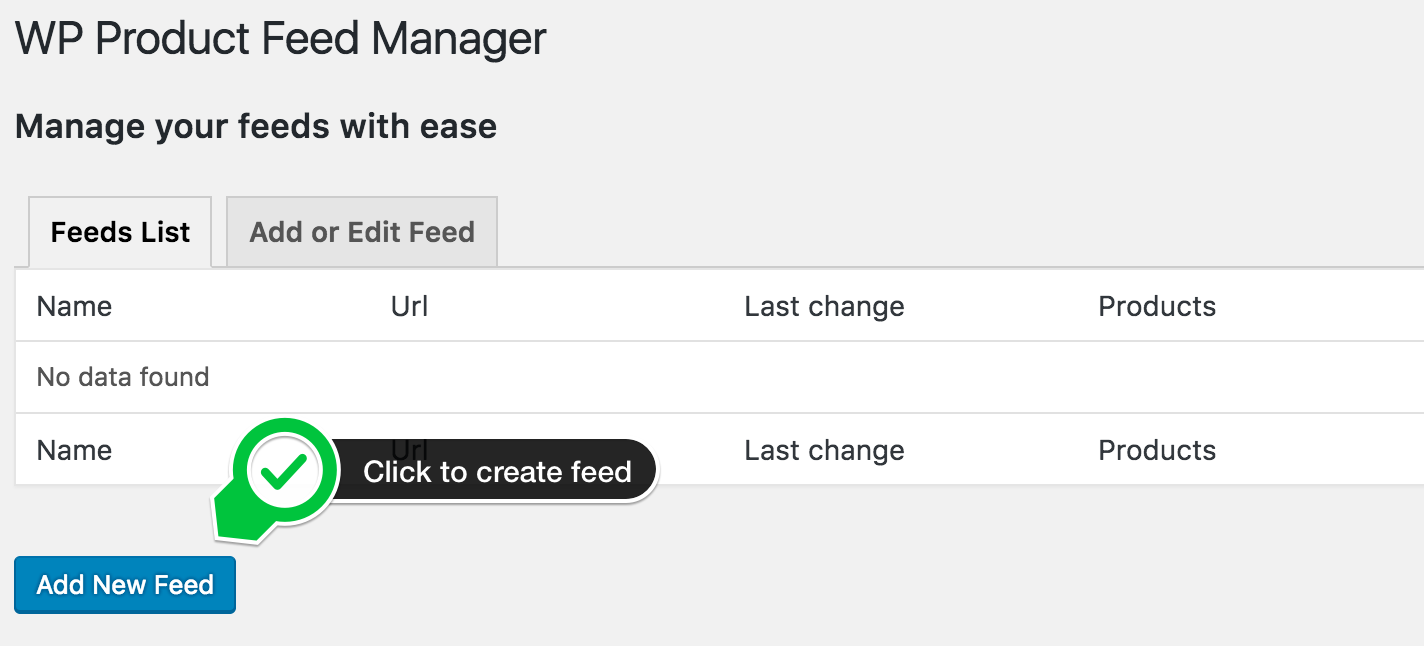
File naming and channel choice
After clicking the button the screen will show you a form where you can enter details about your feed like filename and the channel template you want to choose.
After you have selected the channel more fields will show up where you can enter even more information like Target country, Default category, include product variations and on the right the category mapping section.
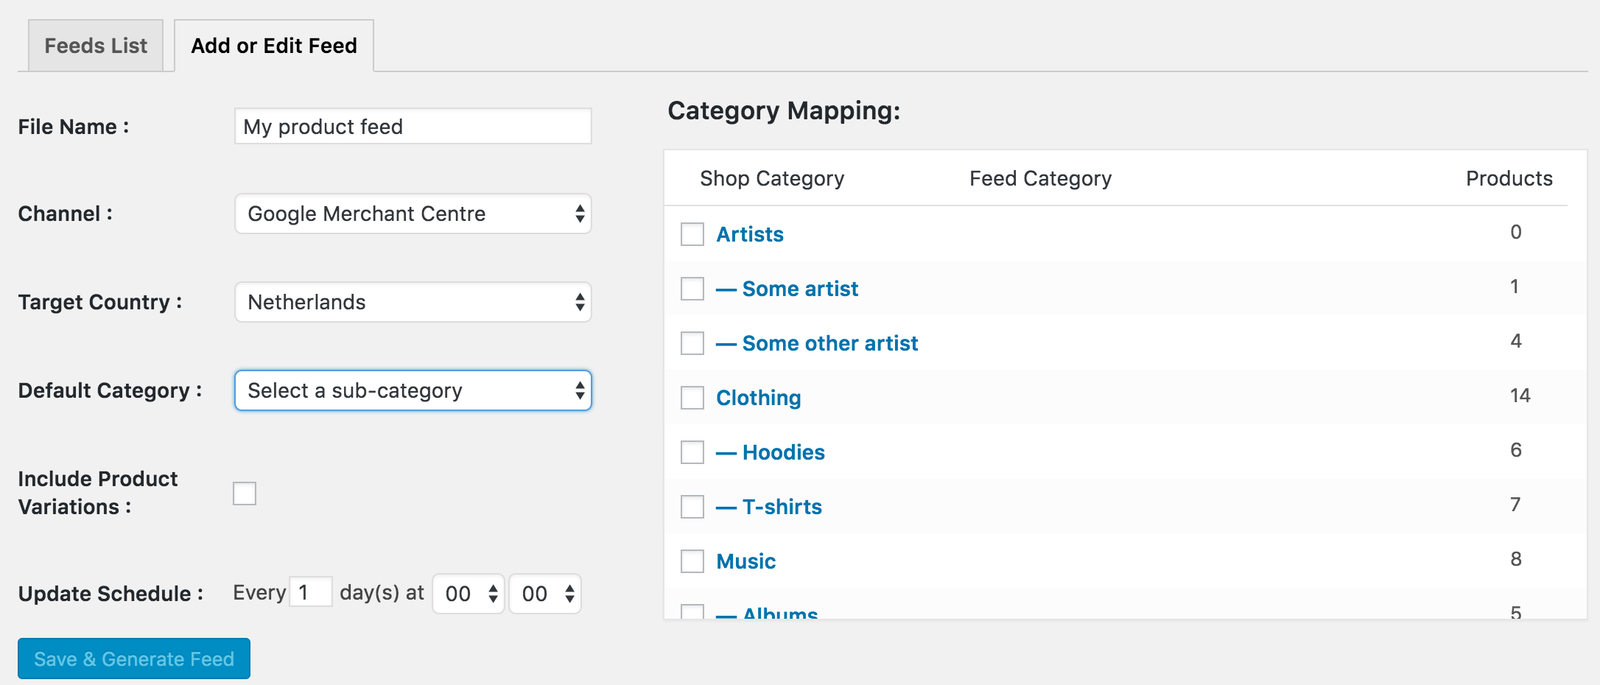
Default category and category mapping
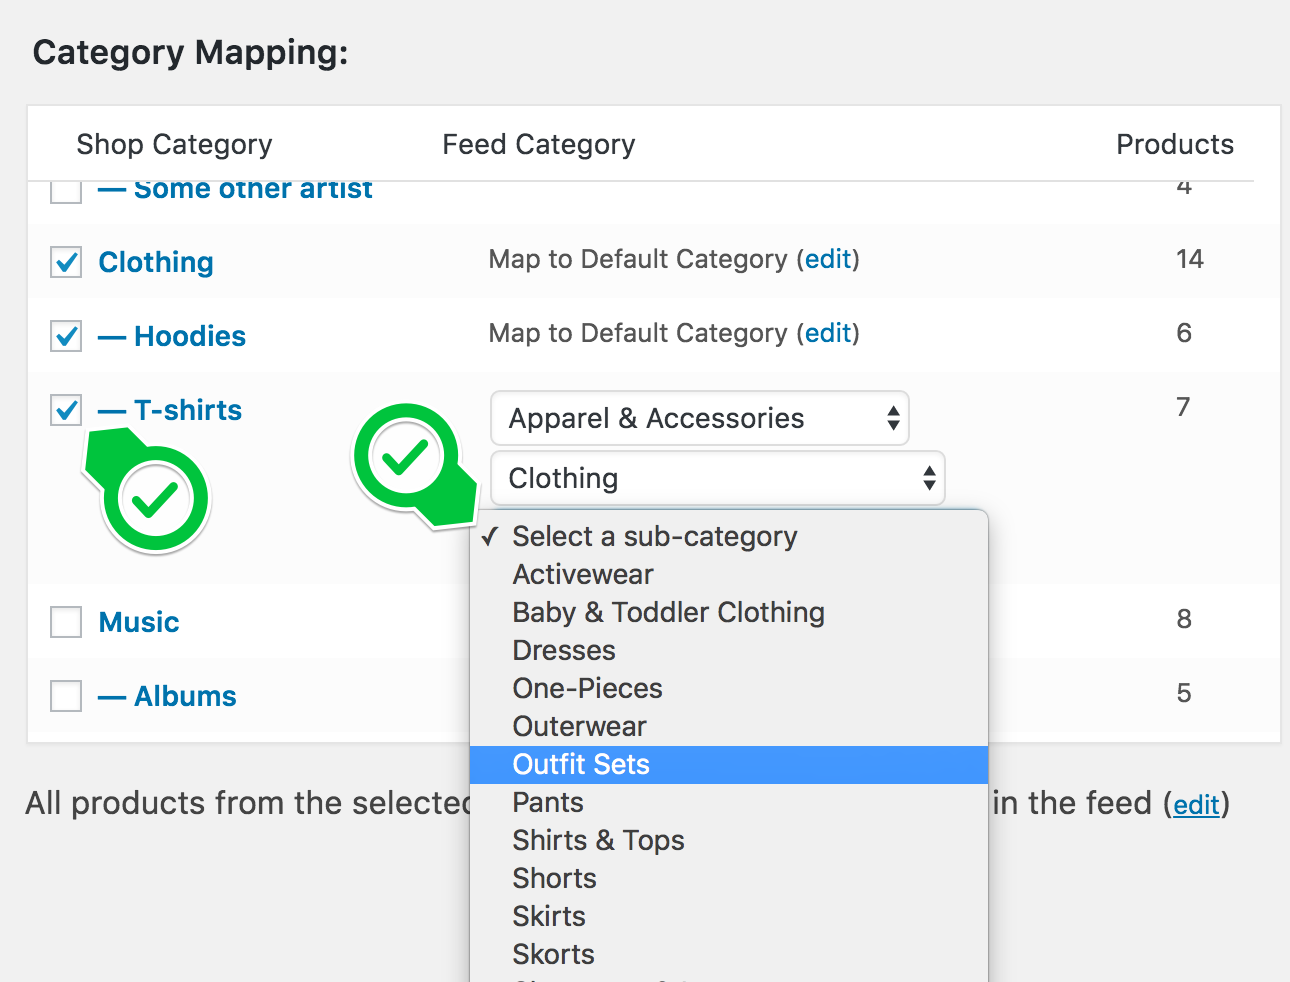
The default category should be setup before you start with the category mapping. The default category shows a dropdown with the required or recommended channel category. When you choose a category witch has subcategories the subcategories will open so you can find easily the right default categories for your webshop.
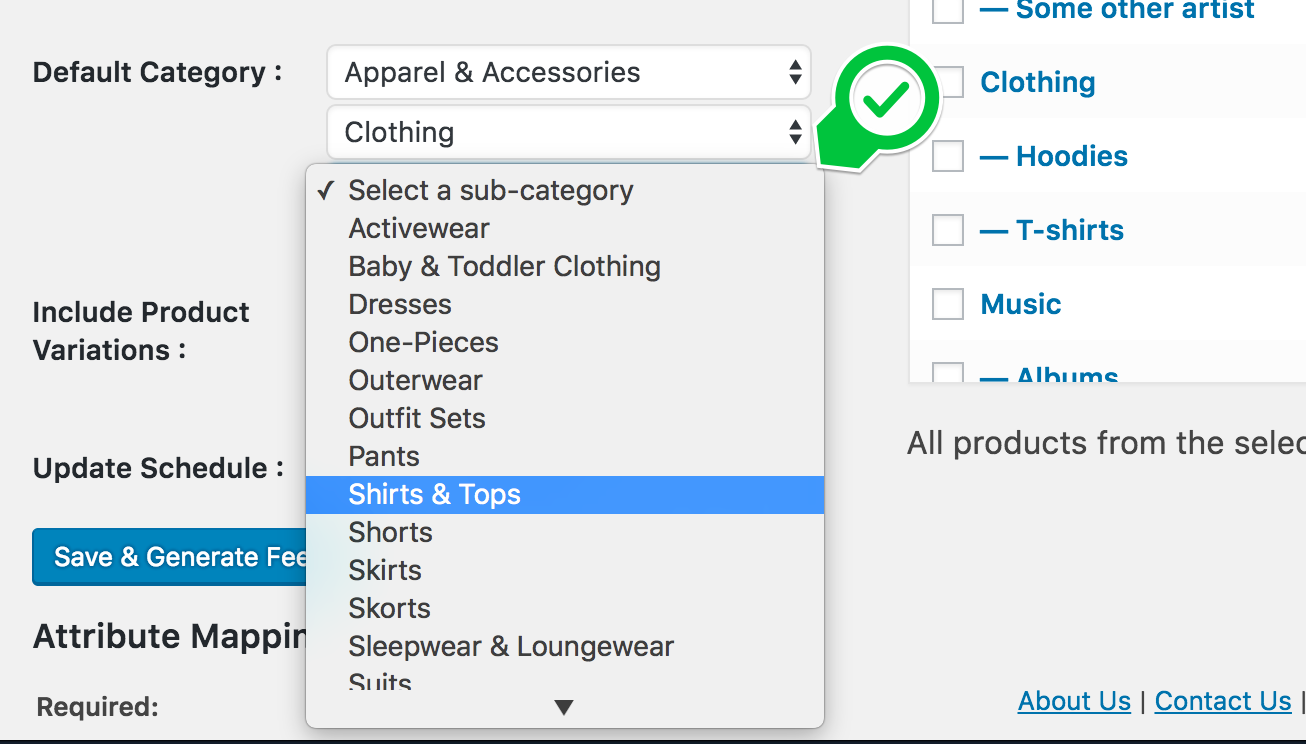
After you have chosen a default category you can map your shop categories to channel categories. To map the shop categories you click the checkbox next to the shop category you want to include in your product feed. By default the marked shop category is mapped to the default channel category you have set before. When you click the edit link next to “Map to Default Category” a dropdown is shown where you can change the mapped channel category to a more suitable channel category.
Include product variations
After mapping your shop categories you can select the checkbox “Include Product Variations”. When you select this your product variations will be included as separate products in your product feed. The plugin will also make sure that the url to the product variation will show the user the chosen product variation without the use of an additional plugin.
Automated schedual

With the schedule function of the plugin you can set an interval for when the plugin will automatically recreate the product feed so you will not have to update the feed manually each time you alter products.
Advance product filters
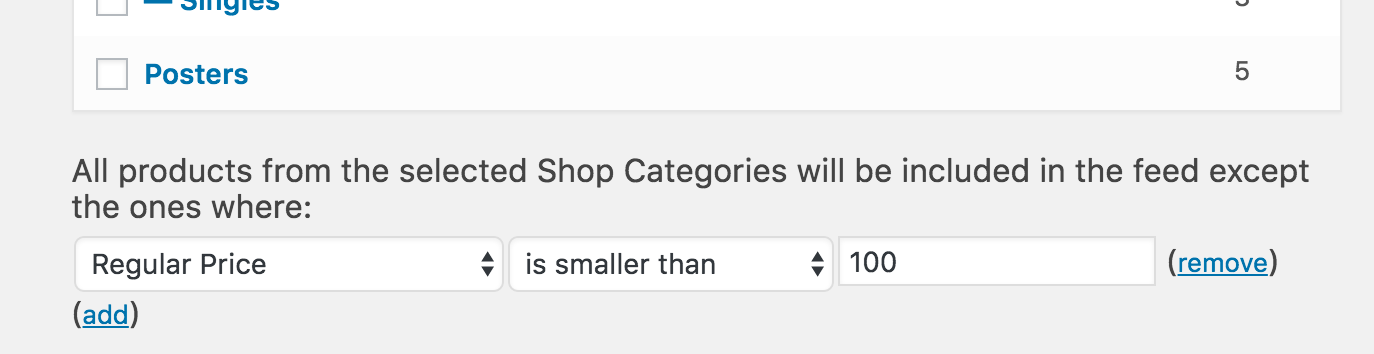
With the advanced Filters you are able to filter products from your feed based on values from product source fields. This way you are able to exclude products with a certain id or sku number but also product with a price below a given amount. This way you can exclude products that will not be profitable.
To ad filters to your feed click the (edit) link underneath the category mapping section where is says: “All products from the selected Shop Categories will be included in the feed”.
A row with drop downs wil present it self where you can use product source field values to determine what products should be excluded.
Attribute mapping
In the last step you have to map the attributes of your channel feeds. When using a channel template we have already set all feed attributes and connected them to a recommended Woocommerce source field. This way you could basically start directly with the given feed settings as they are, save the feed and submit to the chosen channel.
How to work with Attribute Mapping
In the attribute mapping section you will see three columns: “Add to feed”, “From Woocommerce source” and “condition”

The “add to feed” column shows you the channel feed attribute. The “from woocommerce source” shows you the woocommerce source field we have connected as the best choice for the feed attribute. Under “condition” you can create advanced conditions and edit the values from the woocommerce source.
Required and optional attributes
Every channel has its own required and optional fields. We give you the option to setup all possible attributes and show you what attributes are required, highly recommended, recommended and optional.
We have added required and highly recommended attributes in the tool and have set the right woocommerce source field where that is possible.
Under recommended and optional attributes you can pick attributes from the dropdown to include in tot the feed and have that way full controle in what you want to show and what not.
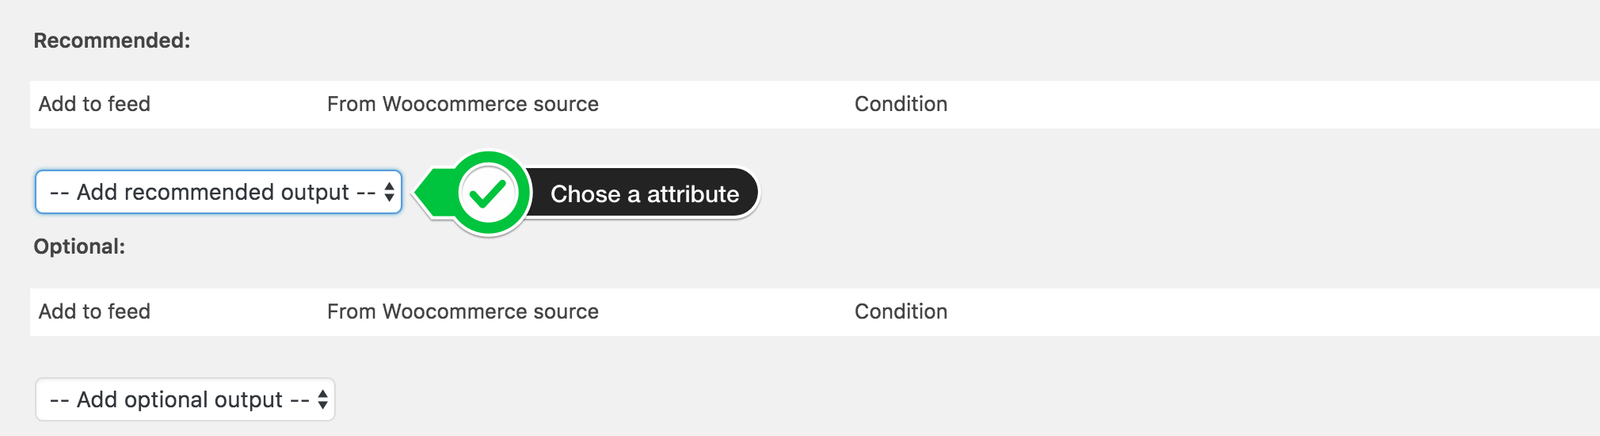
Out of the box the feed will be valid for the chosen channel but we do recommend you add as much fields as possible because that will give the channel more information to show there visitors the right product resulting in a higher conversion rate.
Advanced possibilities
The attribute mapping tools is very advanced and innovative. You are able to controle the values you map to the feed attributes as you wish and alter them to meet your or the channels requirements. This way you are able improve the performance of the feed and your products sales in the channel.
Make sure you get to know the working of the attribute mapping tool
Save and check your feed
When you’re done with the setup of your feed and have mapped the attributes your ready to save and generate the feed.
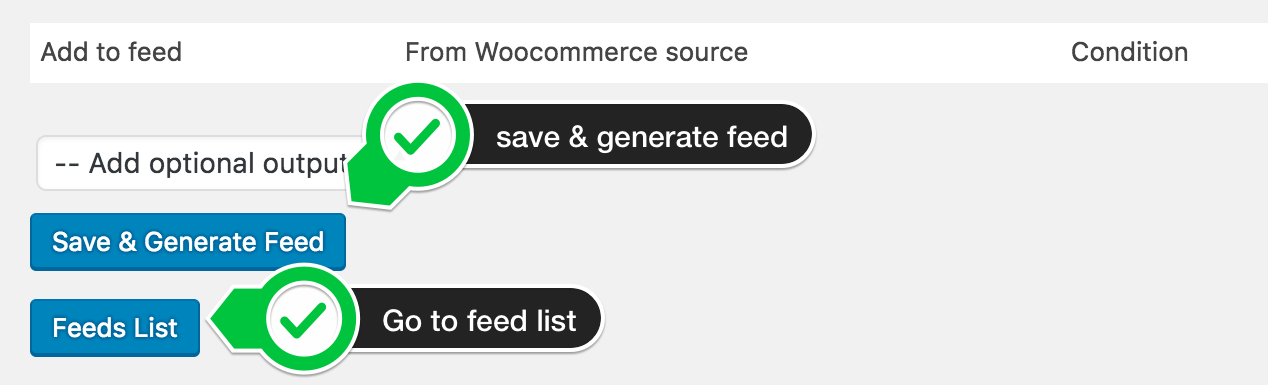
Click the button “Save & Generate feed”
Feedlist
The feed will be saved and generated on your server. You can now go further with editing or click the Feed list button and open the feed list page where you will find the feed. In the list you see details about the feed like amount of products, status and four actions you like edit, view, delete and activate.
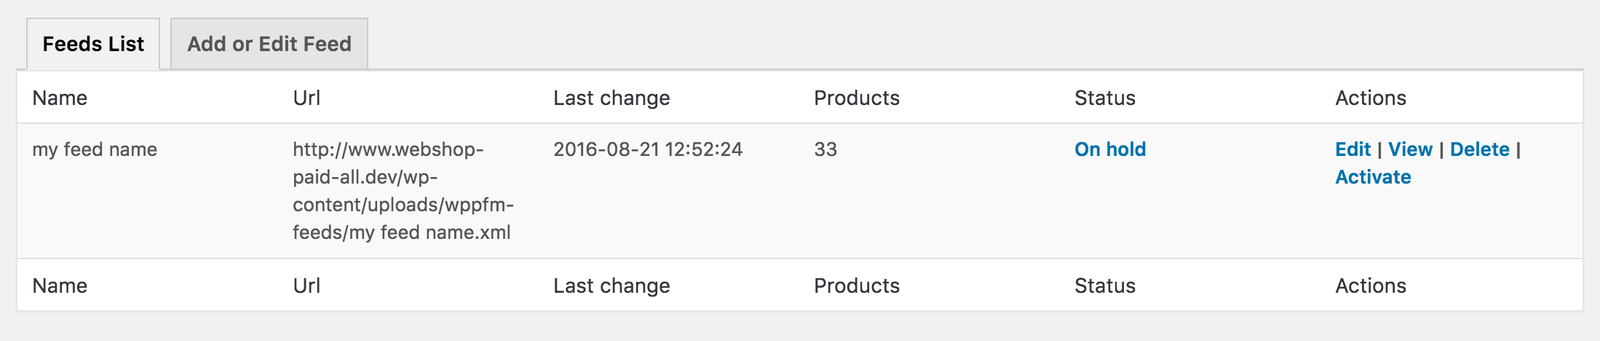
When you click on view the feed will be openend in a new browser screen where you can check the feed. The url of the feed you can use in your channel.